Contributing to Existing Pipelines
We encourage the community to make contributions to our existing pipelines, such as updates to workflow code, Docker images and code, and accompanying documentation.
Guidelines for contributing differ slightly depending on the size of the update and whether the contributor has WARP repository permissions.
To get started, read the following Contribution Guidelines and the Example Contribution.
If you have remaining questions about your contribution, reach out to the WARP team by filing a new issue.
Contribution guidelines for new pipelines are in development, but to contribute a new pipeline, reach out to the WARP team first by filing an issue. Additionally, read our Best Practices for pipeline development.
Contributor agreement
All user contributions fall under a BSD 3-Clause License, are not copyright, and are open source. When you make a contribution, you attest that all contributions are your own and not copyrighted by another party.
Contribution Guidelines
1. Scope the work.
Contributions can range from tiny syntax changes to large task, workflow, or Docker updates. Often changes to a single task WDL or Dockerfile can affect multiple workflows that import those same task WDLs or Docker images. This is why it's important to scope updates before proceeding.
If an update is large, or if you're unsure how a change affects multiple workflows, file an issue in WARP first.
Filing an issue allows our team to provide valuable feedback before starting a large effort and appropriately prioritize the review work.
Additionally, there are multiple requirements for our testing infrastructure. By filing an issue for large updates, we can work with you right away to flag any potential testing-related issues.
2. Read guidelines for versioning, changelog syntax, and WARP Documentation style.
Our testing infrastructure relies on specific versioning and changelog syntax. Pipeline changes must be documented in the changelog with the appropriate syntax.
Similarly, if you plan to contribute to WARP Documentation, read the WARP Documentation style guide first, as it contains helpful formatting tips.
3. Make a branch or fork off the WARP develop branch.
If you have WARP repository permissions, GitHub will allow you to make a branch off the WARP develop branch when you’re ready to contribute. For more information on how to make a branch, read the GitHub Docs instructions for branching.
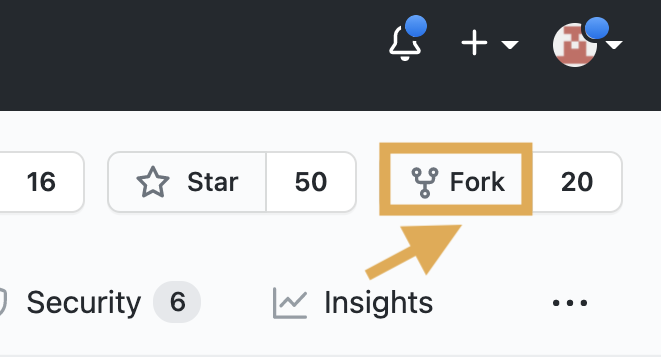
If you do not have WARP permissions (i.e. you can’t make a branch off of the develop branch), make a fork of the WARP repository following the GitHub Docs instructions for forking.
4. Make your updates on your WARP branch or fork.
As your work progresses, make commits to your WARP branch or fork.
5. Assess and make updates to accompanying pipeline files.
Updates to pipeline code, Docker images, or reference files might require coordinating additional updates both in WARP, such as modifying accompanying changelogs and pipeline overviews, or outside of WARP, such as uploading Docker images or reference files to public cloud repositories.
All changes that affect pipeline workflows must be recorded in the pipeline(s) changelog(s) using semantic versioning. An explanation of this can be found in the changelog style guide.
When you update the changelog, the pipeline’s WDL workflow version number must also match the changelog entry to ensure the updates pass the WARP testing process (this is shown in the Example Contribution).
If you make any changes to files hosted in cloud repositories, like pipeline Docker images or reference files, coordinate with the WARP team during or before the review process to push the updated files to cloud storage.
Remember to make necessary updates to the accompanying pipeline documentation such as the pipeline overviews in WARP Documentation.
- If you’re updating WARP documentation, read the documentation style guide for helpful formatting tips.
6. Make a pull request to the WARP develop branch.
When updates are ready, make a pull request (PR) using WARP's develop branch as a base. In the comments section of the PR, notify the WARP team to review the PR and start the necessary repository tests. You can do this by typing test and review @broadinstitute/warp-admins.
7. Revise the PR as necessary for the review process.
8. Merge updates to the WARP develop branch.
If you have permission to merge to the WARP repository, you can merge the PR once it's approved. You’ll receive a reminder to perform a “squash merge”. Please delete individual commit comments and make one summary comment for all commits.
If you don’t have WARP permissions, the WARP team will merge the PR for you when it’s ready.
Review Process
WARP review process and requirements
After contributing a PR, a WARP team member will start a series of tests, usually by making an “ok to test” comment.
For each PR, WARP requires approval from a minimum of two developer reviewers. Additionally, depending on the changes, a review from a scientific owner or a clinical owner is also required, unless the developer is already the scientific or clinical owner. All comments and requests for changes are made directly in the GitHub PR.
Comments will be likely be made within 3 business days of the PR submission. If no review is started by that time, tag @Kylee Degatano in the PR.
If a PR is abandoned after starting the review process, the WARP team will either take ownership of it or close the PR.
Troubleshooting WARP testing
All pipelines must pass syntax, scientific and Smart-tests, as described in the testing overview. The WARP team will help troubleshoot testing for new contributions.
Next steps
To learn more about how to apply these contribution guidelines to an example small pipeline update, see the Example Contribution.
Still have questions?
Contact us by filing an issue.